
Bubble Letter S
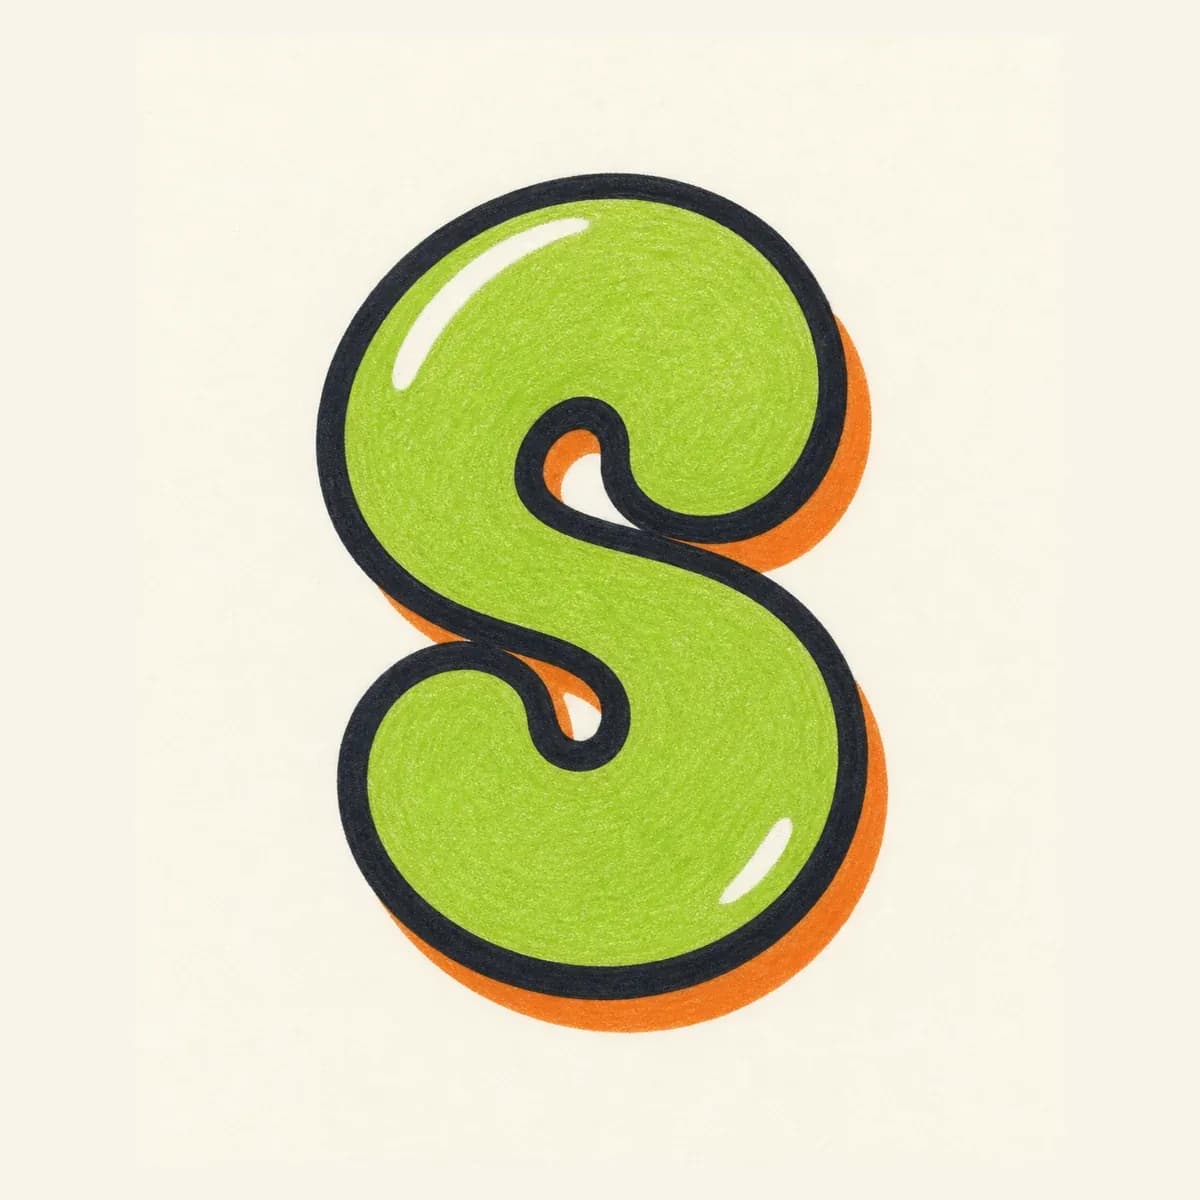
A rounded S with a soft spine, open center waist, and balanced top and lower curves for beginner-friendly practice.
Explore Bubble LettersExplore graffiti letter S styles, from bubble and block letters to wildstyle, tag, and 3D examples. Use these graffiti letter S drawing steps to understand the flowing spine, center waist, and curve balance, then build your own design.
AI Letter Builder
Open the AI graffiti letter generator to create more custom graffiti letter S ideas.
Choose a letter
Choose a style
Write your instructions
Compare different graffiti letter S styles before you draw or create your own. Start with bubble or block shapes to learn the spine and waist, then explore tag, 3D, and wildstyle versions.
A rounded S with a soft spine, open center waist, and balanced top and lower curves for beginner-friendly practice.
Explore Bubble Letters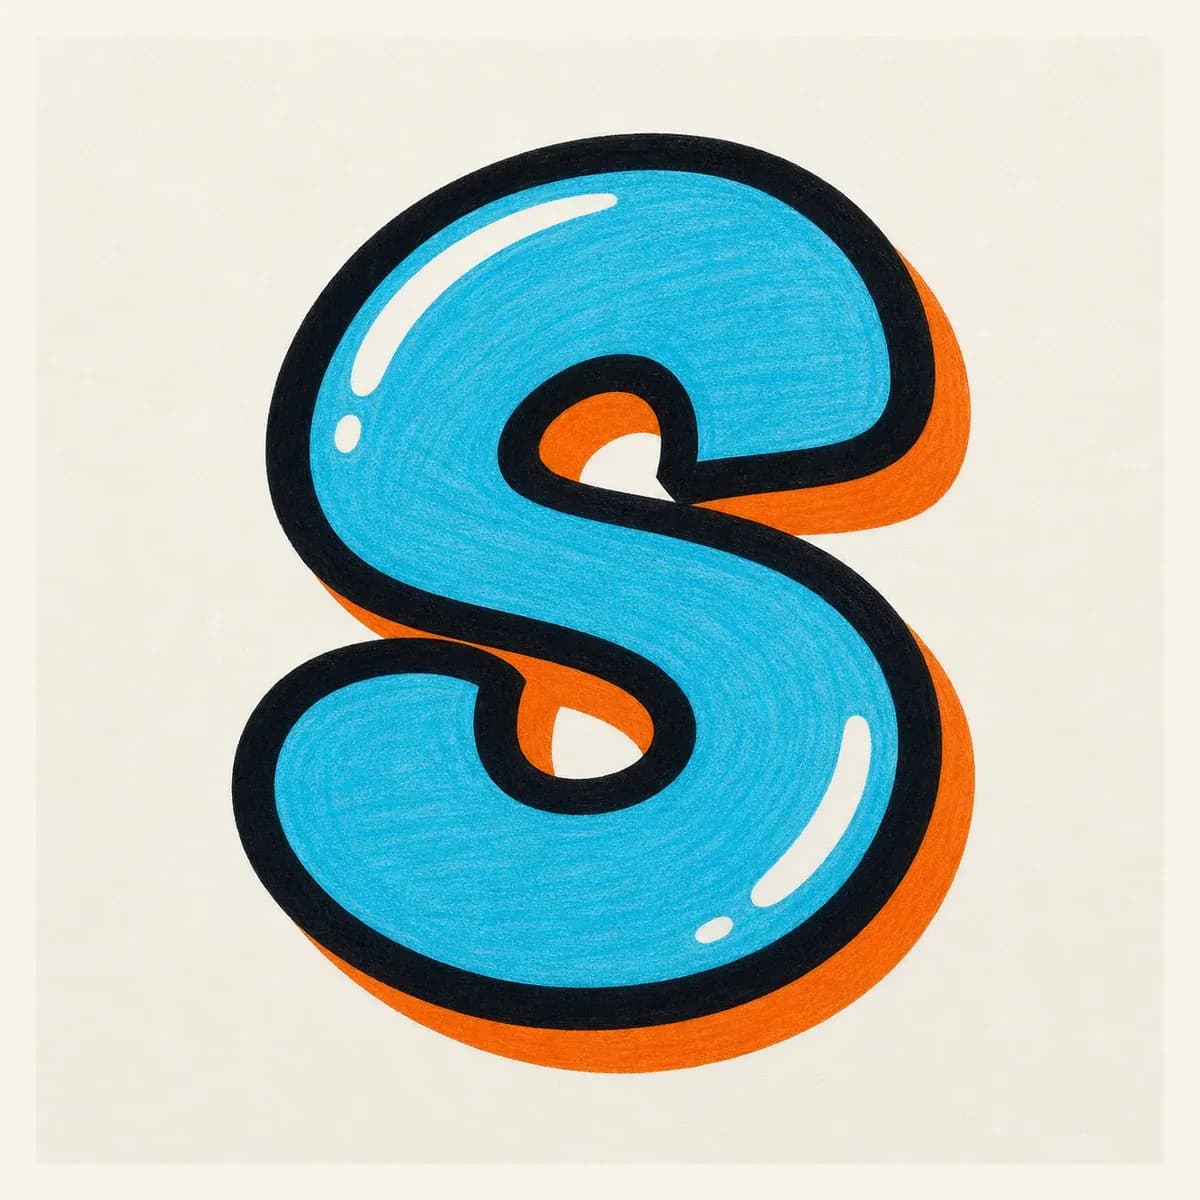
A readable block S that keeps the curve structure while squaring the turns, useful for posters, initials, and bold alphabet layouts.
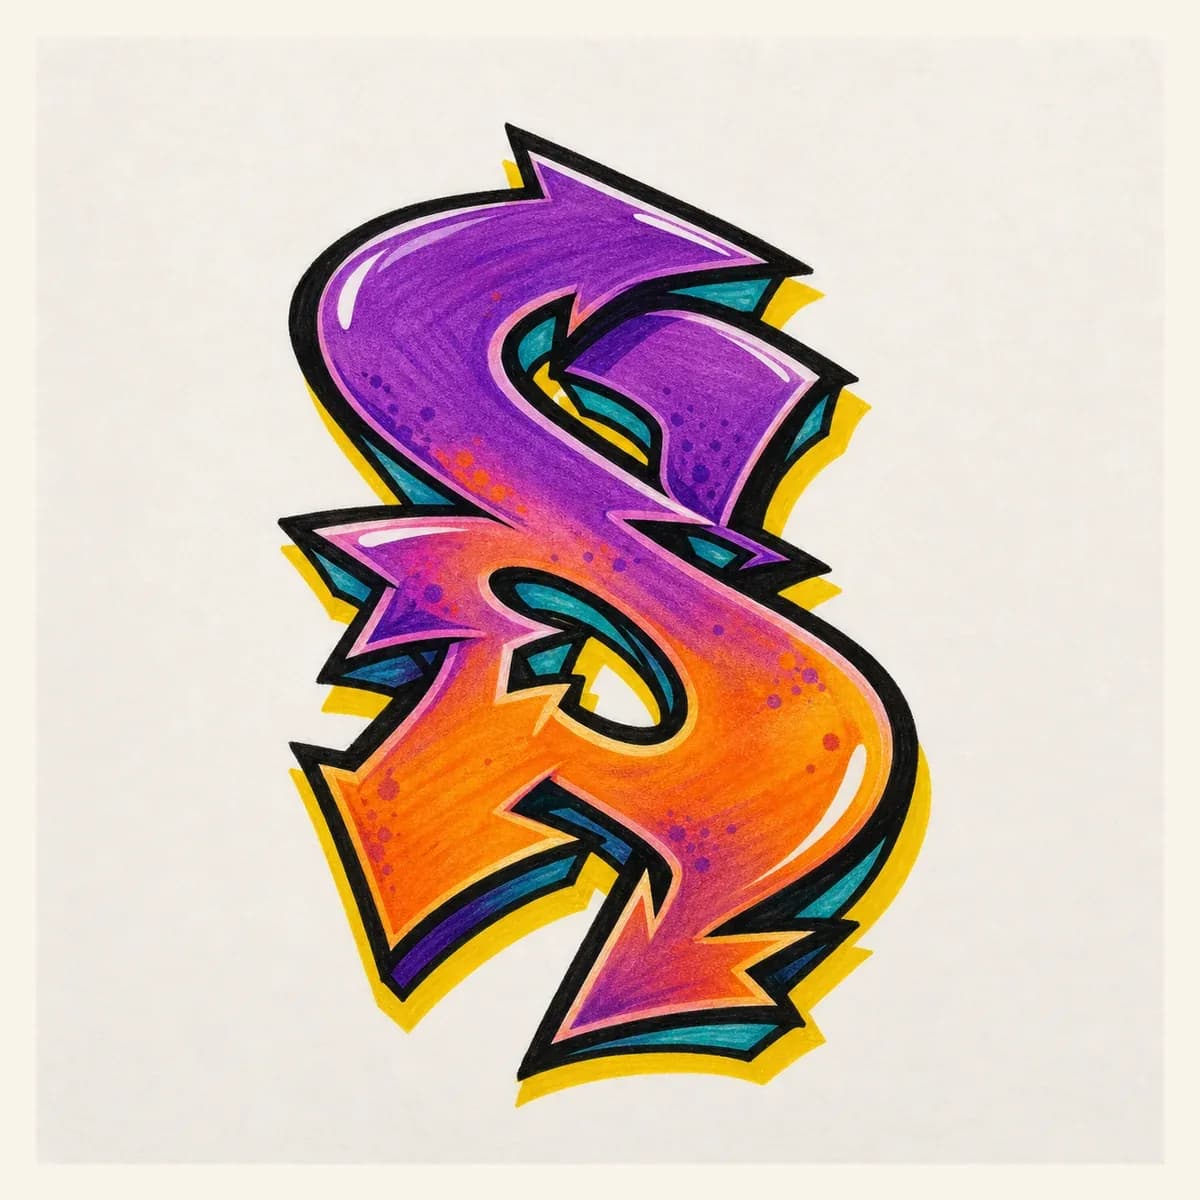
A sharper wildstyle S where arrows grow from the terminals, while the center spine still reads before the extensions.
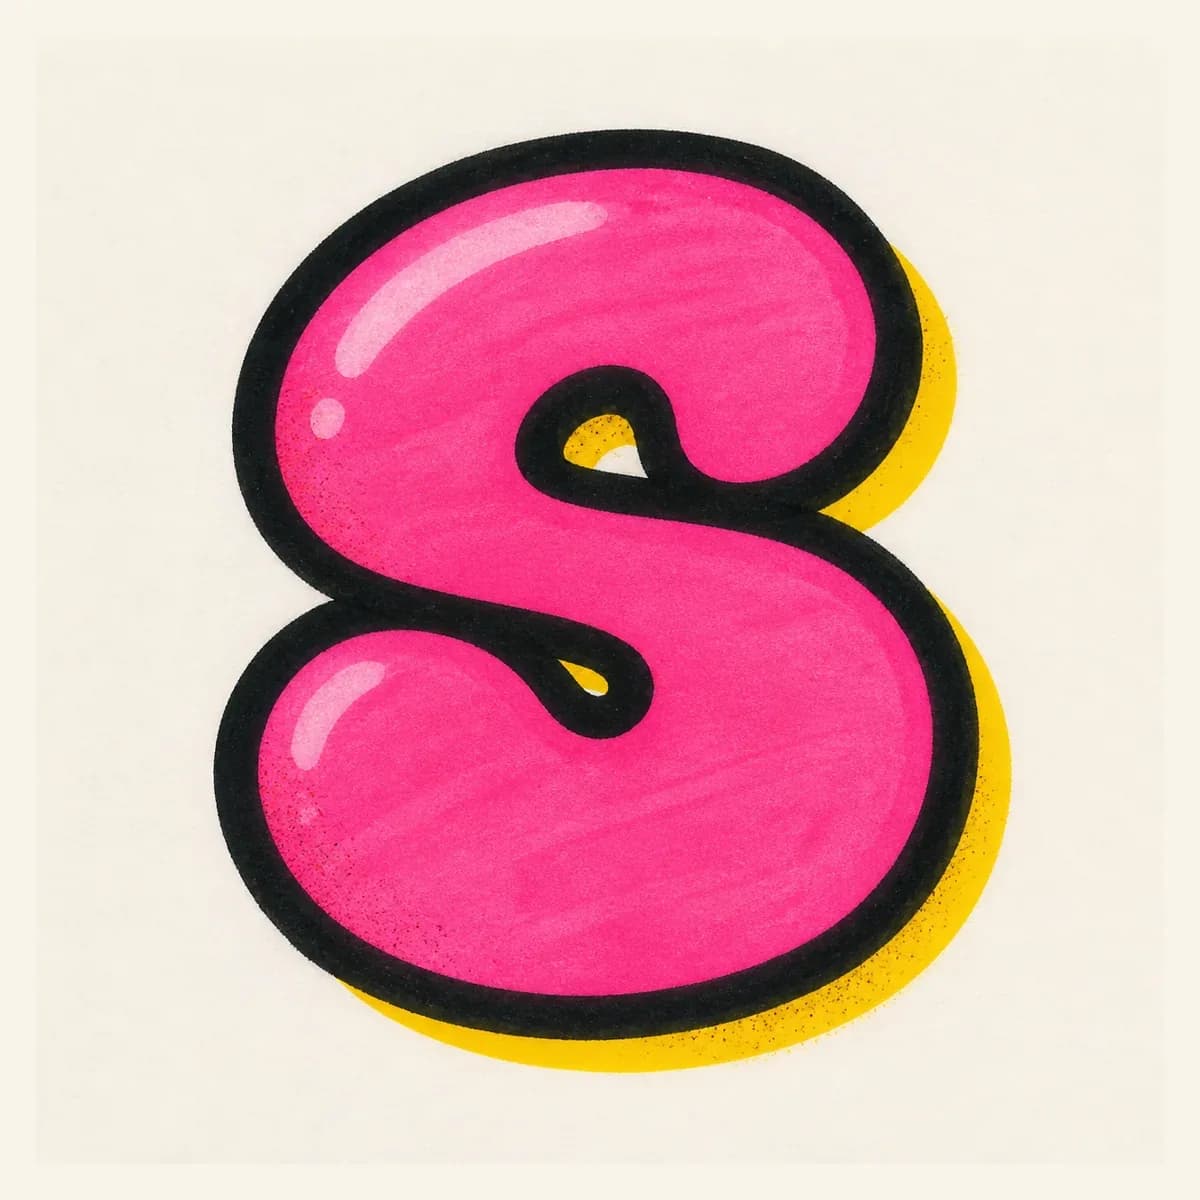
A fast throw-up S with inflated curves and a thick outline. The center waist should stay open so the shape does not collapse into a blob.
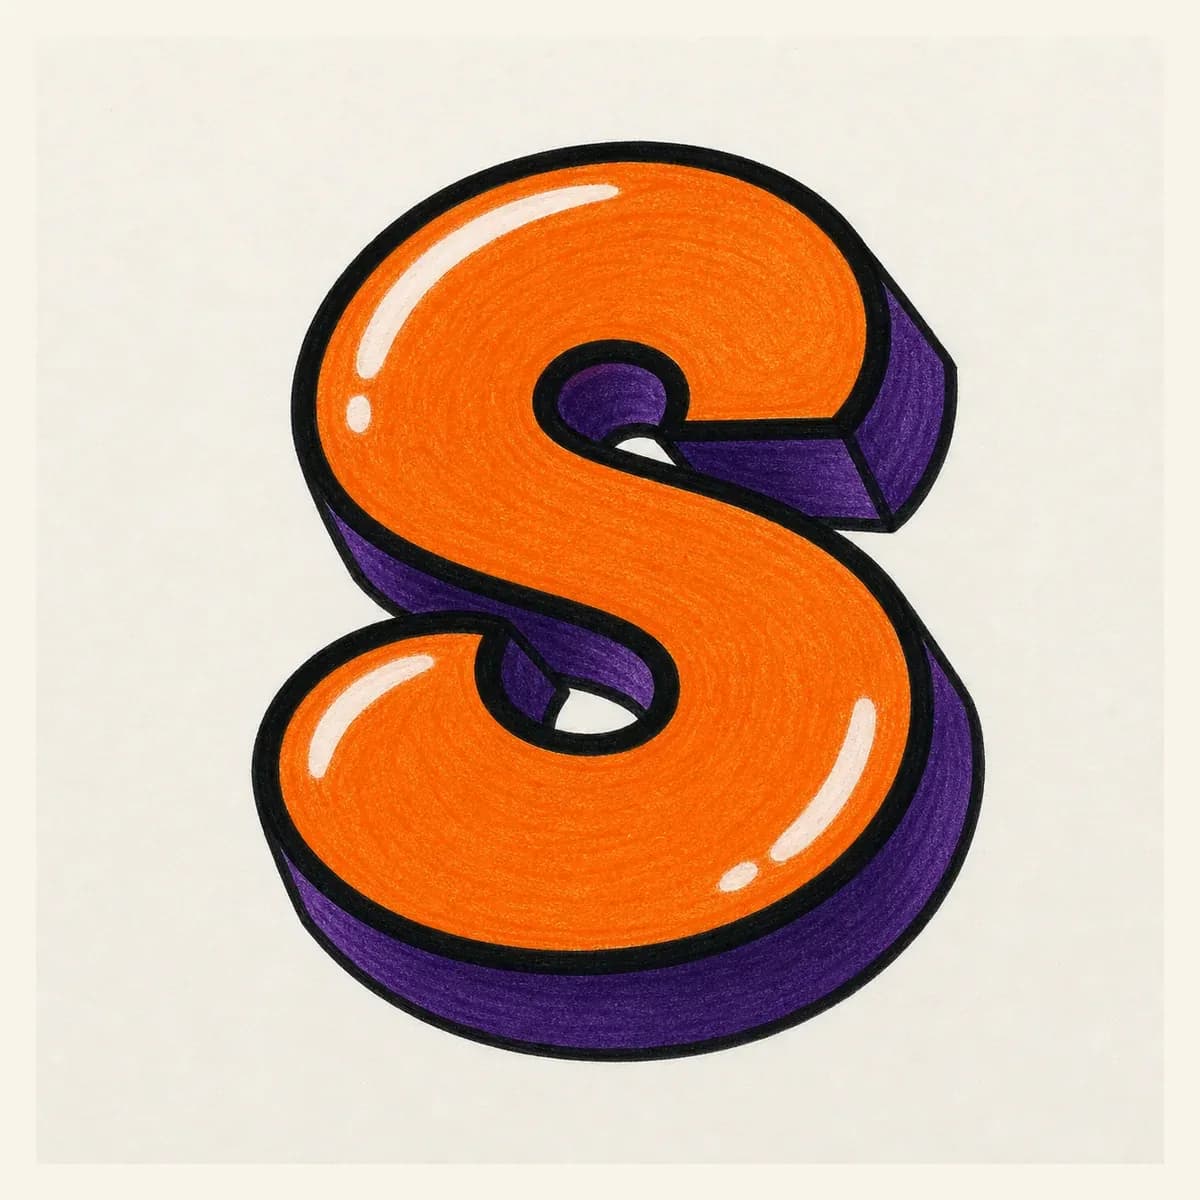
A dimensional 3D S that pushes shadow along the curves. Keep the extrusion consistent through the tight middle bend.
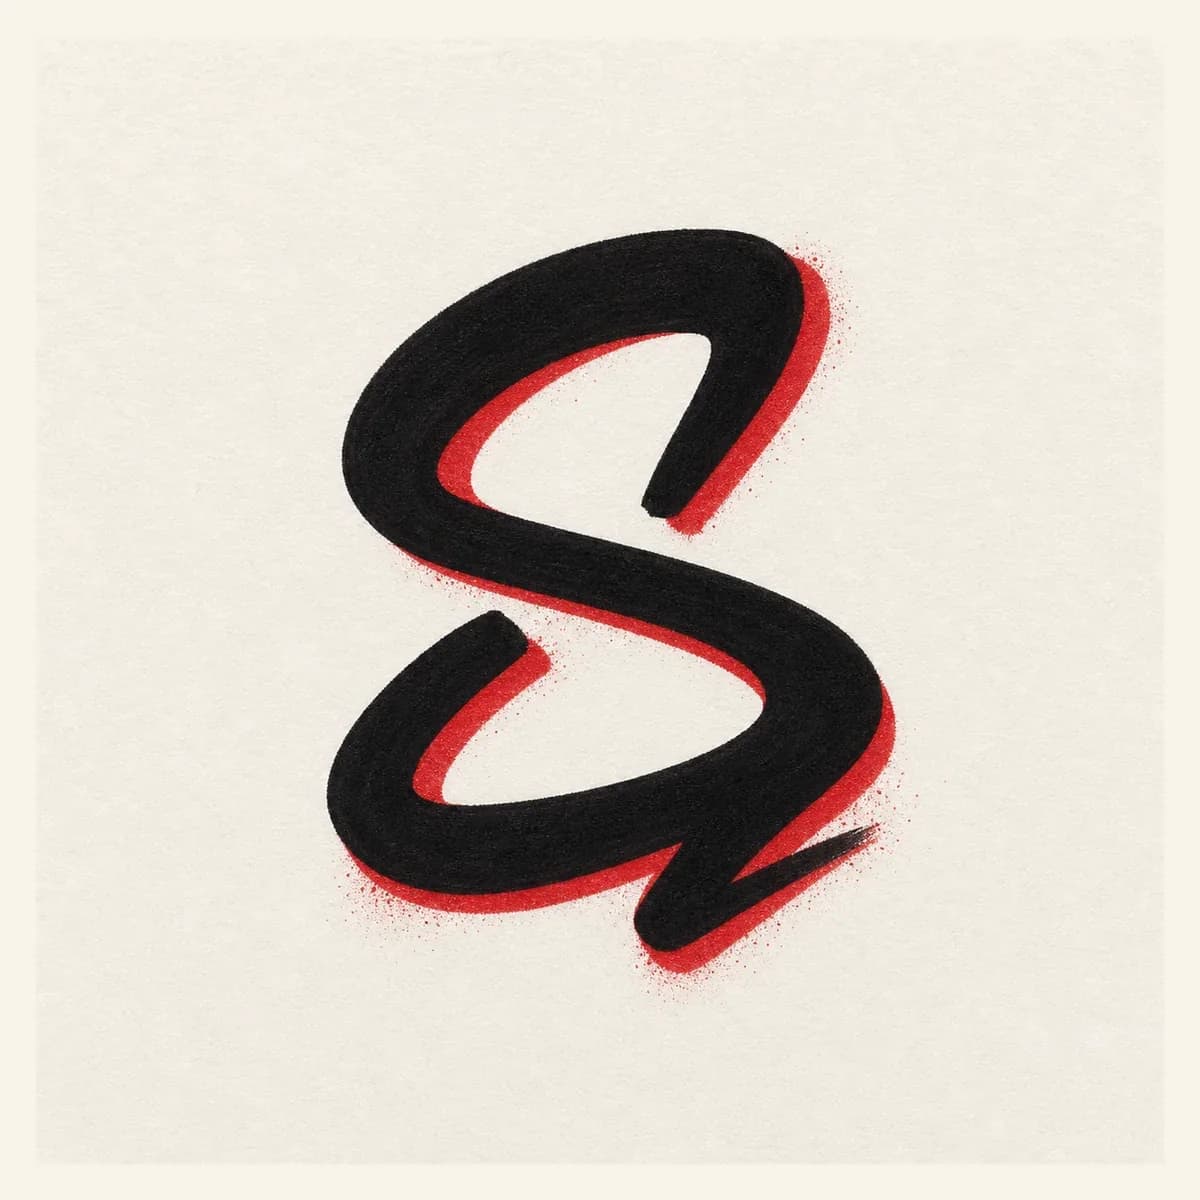
A quick handstyle S built from one confident motion, with a clean entry stroke, compact waist, and lower flick for names and tags.
Start with a flowing spine, then build the graffiti letter S in layers: rounded width, center waist, bold outline, shadow, and final color.
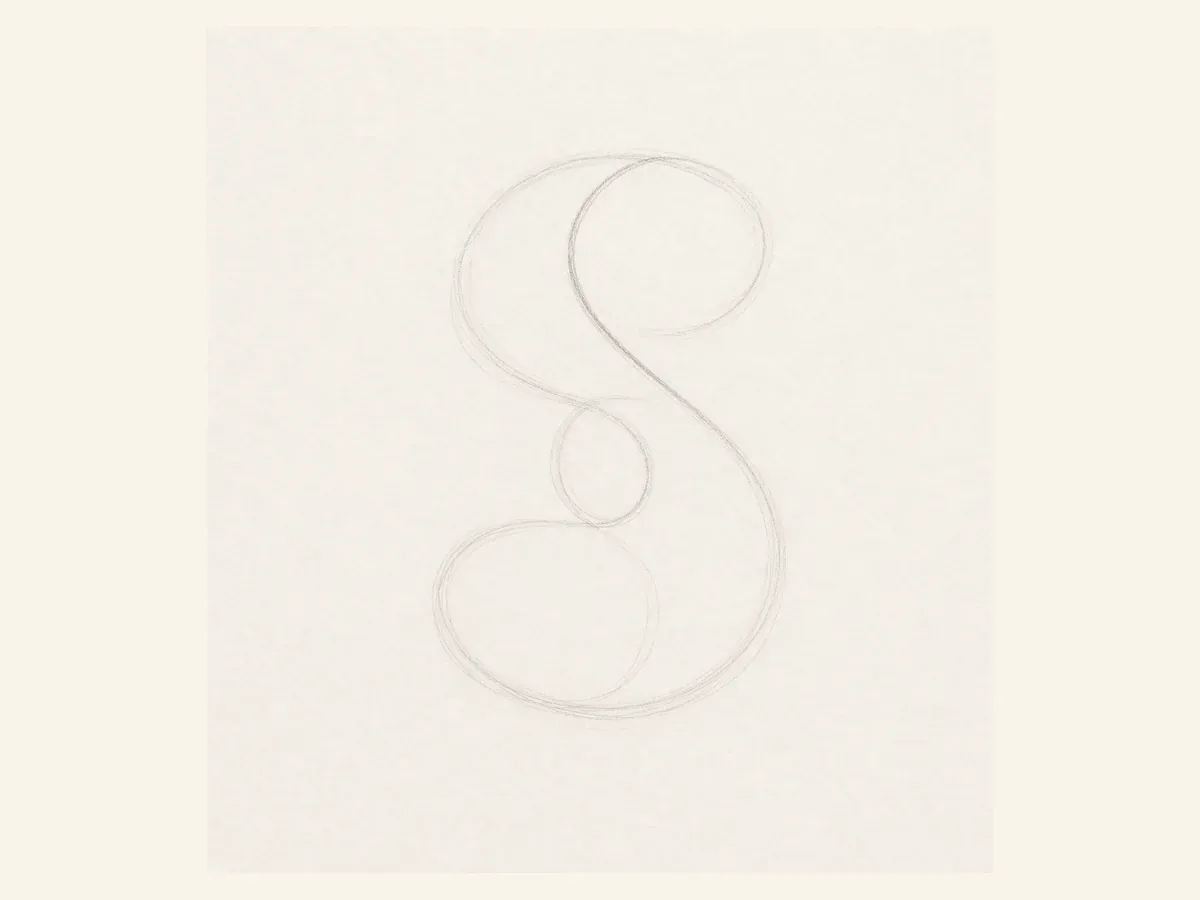
Start with a light flowing spine. Mark the upper curve, center waist, and lower curve before adding width.
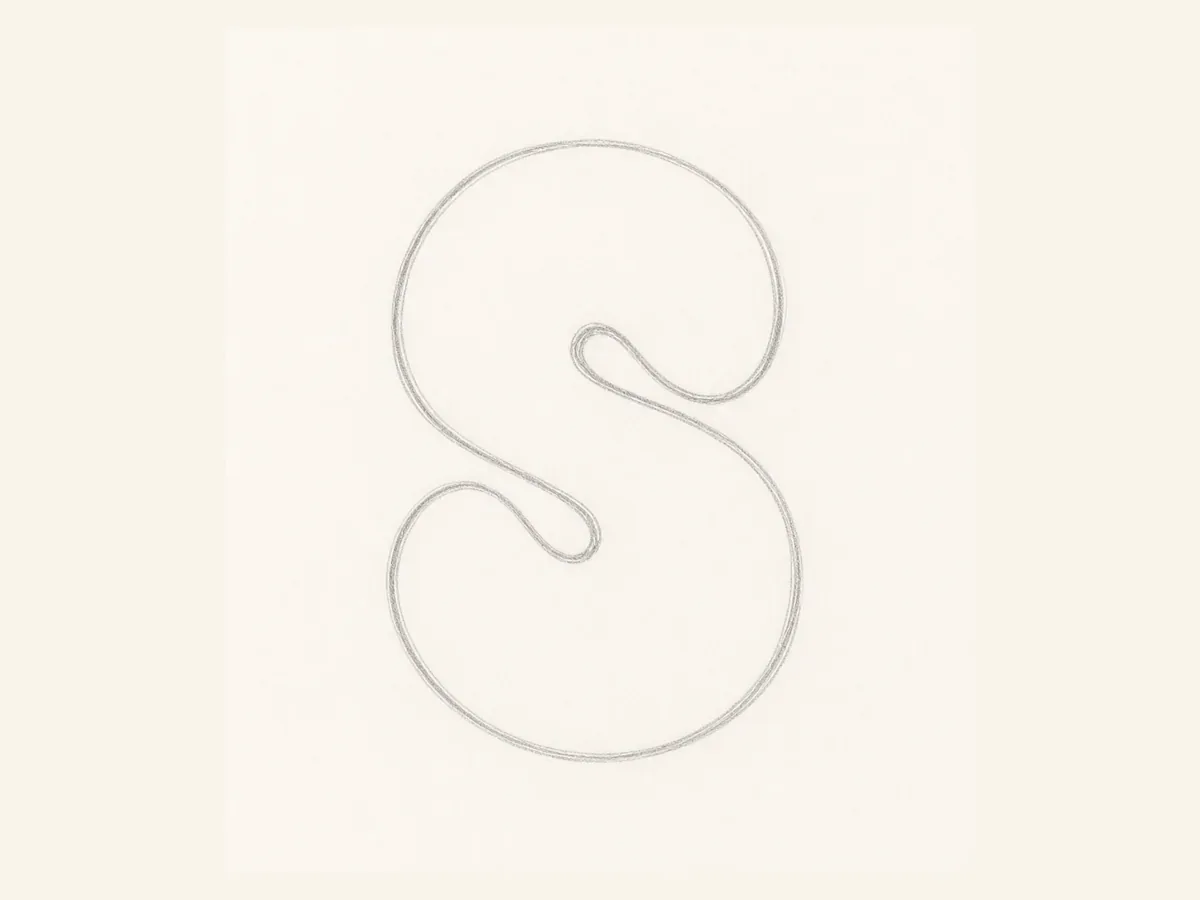
Wrap a bubble outline around the spine. Keep the middle narrow enough to read as S, but not so tight that the curves touch.
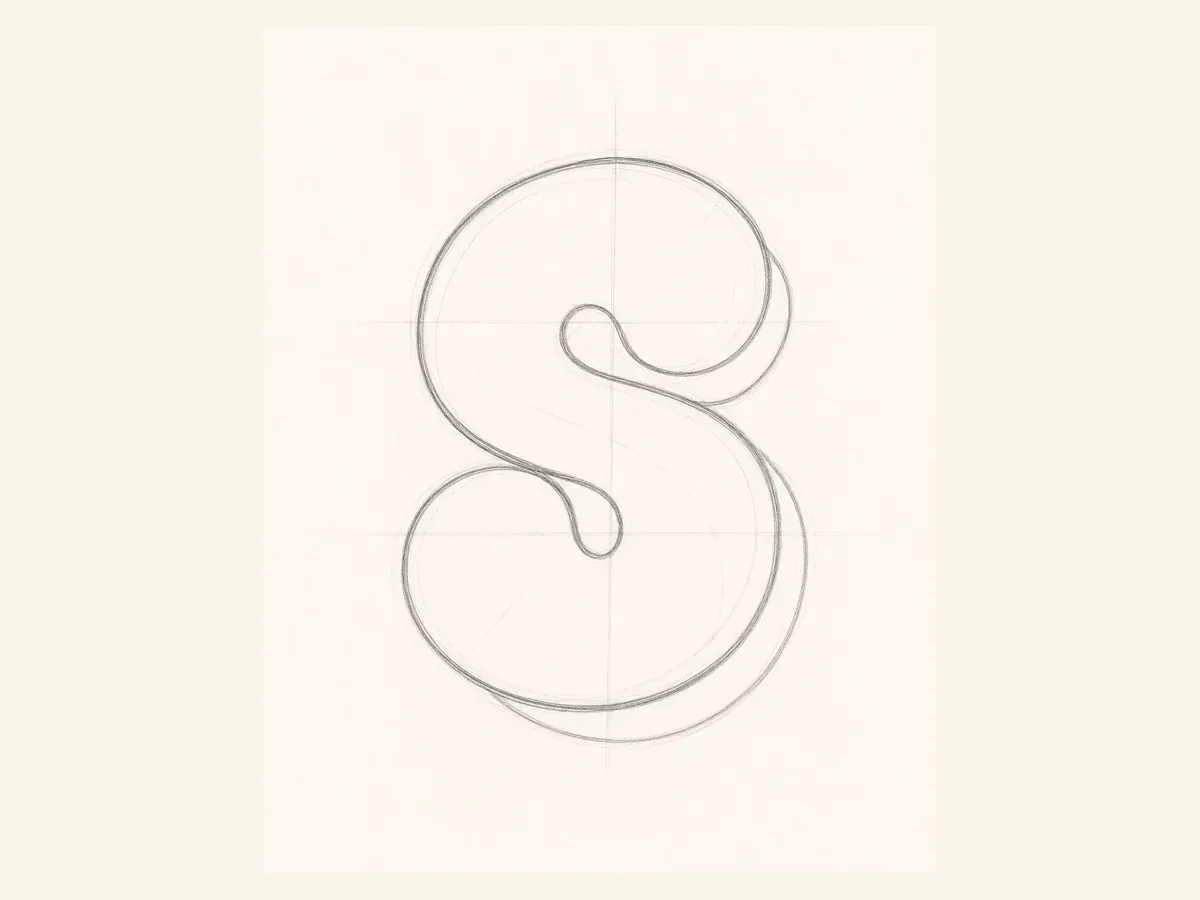
Refine the top and lower curves, then check the negative space around the center waist before adding heavy outline.
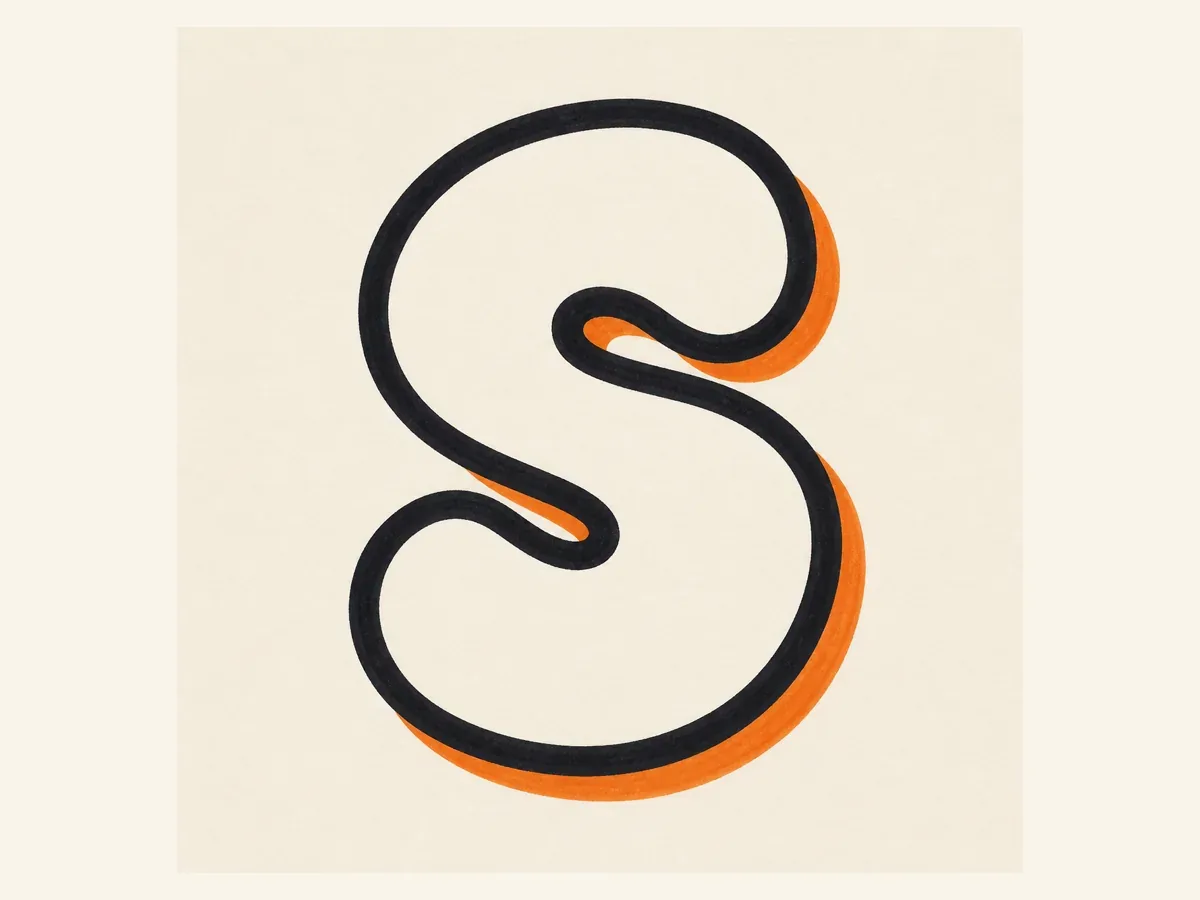
Add a bold marker outline and simple shadow. Follow the same curve direction so the S does not look twisted or uneven.
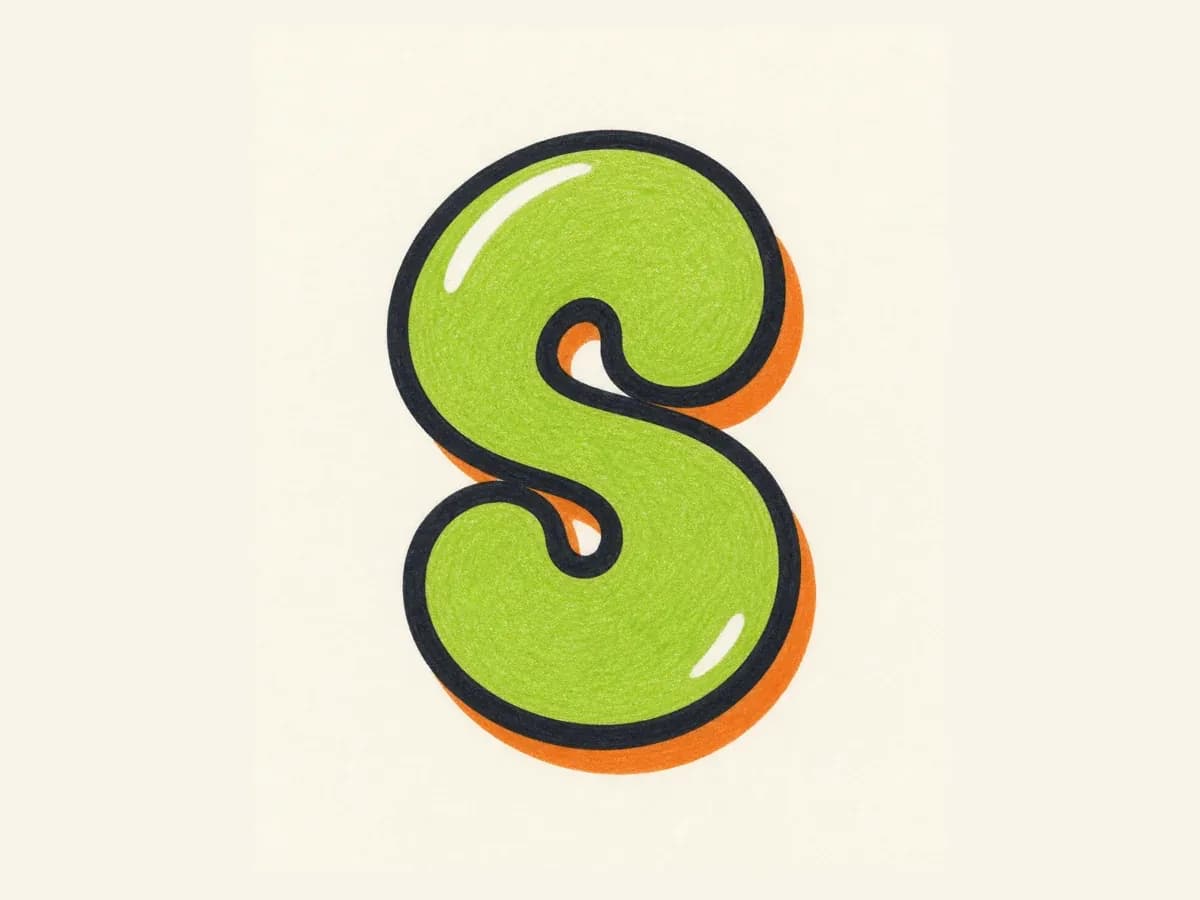
Fill the S with color, add highlights on the curves, and keep drips or arrows away from the narrow center waist.
These drawing steps keep the spine, center waist, and curve balance consistent from sketch to final color.
Draw the spine first, then keep the upper and lower curves balanced. Leave enough space at the center waist so the S does not read like 8.
For bubble S, soften every bend. For block S, square the outside turns. For wildstyle S, add arrows only after the spine is clear.
Build the simple S first, check the center waist, then add shadow, highlights, drips, arrows, or color.
Once the basic S is readable, try a more specific direction: chrome sticker, wide throw-up, sharp-terminal wildstyle, or fast handstyle tag.
Chrome S sticker: use a silver fill, thick black outline, and a clean purple shadow that follows the curved form.
Wide throw-up S: push the lower curve wider, keep the center waist open, and use a bright fill for quick sticker-style energy.
Sharp-terminal wildstyle S: add arrows to the top and lower terminals only after the main spine stays readable.
Fast tag S: start with a quick entry curve, tighten the middle, then flick the lower terminal into the next letter.
Start with a light spine line, then build rounded width around the upper curve, center waist, and lower curve. Once the S is readable, add a bold outline, shadow, color, highlights, and small accents.
Bubble letter S is usually the easiest starting point because the curves can stay soft and forgiving. Focus on the flowing spine first, then thicken the letter without closing the center waist.
Keep the top and lower curves balanced, make the center waist clear, and avoid adding arrows before the main S shape is obvious. If the waist gets too tight, the letter can read like an 8 or a twisted blob.
Yes. Use the Letter S builder on this page to choose a style, add details like fill color, outline, drips, or wall texture, and send a single-letter S prompt to the AI graffiti generator.
Yes. After you open the generated result in the AI tool, you can download the generated image for practice sheets, sticker ideas, thumbnails, initials, or username artwork.
Use bubble letter S when you want a friendly, readable shape for practice or stickers. Use wildstyle letter S when you already control the spine and want arrows, overlaps, and sharper terminal movement.